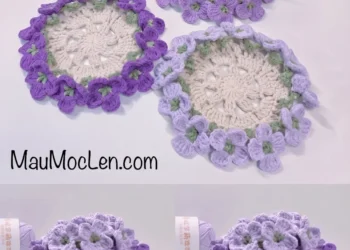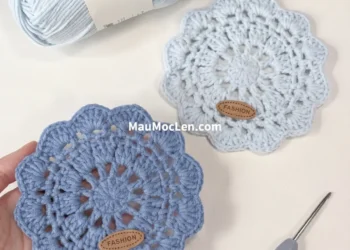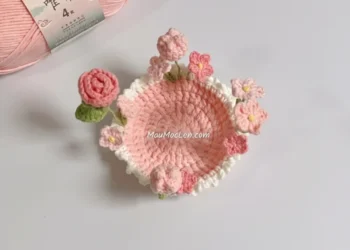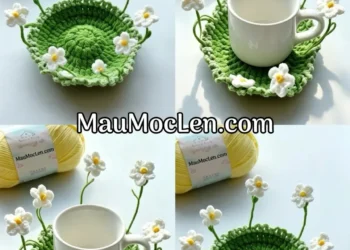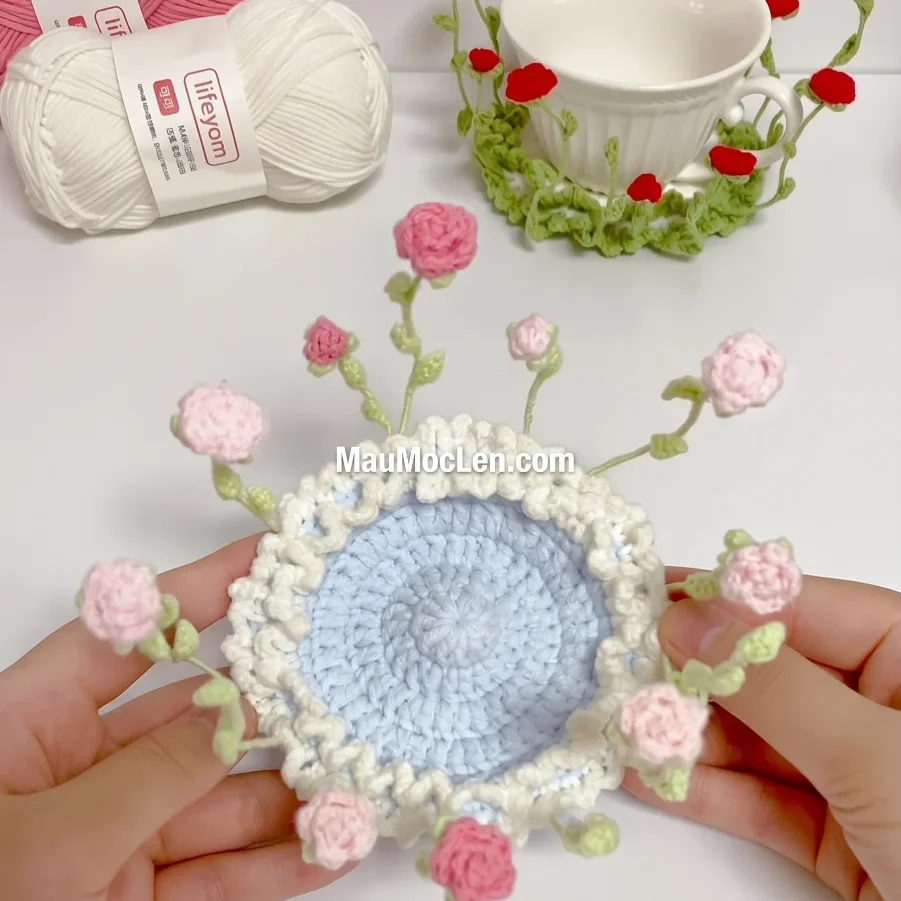
A step-by-step crochet tutorial for crafting a stunning double-layer ruffle coaster adorned with whimsical, blooming rose stems growing along the edge. This charming piece serves as both a practical table protector and a gorgeous decorative accent or photo prop for miniature displays

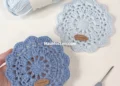
Table of Contents
Designer: 哈嘿
Abbreviations (US Terms)
- ch: chain
- sc: single crochet
- inc: increase (work two stitches in the same stitch)
- hdc: half double crochet
- dc: double crochet
- tr: treble crochet
- sl st: slip stitch
- BLO: back loop only
- FLO: front loop only
- st(s): stitch(es)
1. Main Coaster Base (2 Strands of Yarn, 3.0 mm Hook)
- Rnd 1: 10 dc in a magic ring (10 dc). Sl st to join.
- Rnd 2: 10 dc-inc (20 dc). Sl st to join.
- Rnd 3: (1 dc, 1 dc-inc) repeat around (30 dc). Sl st to join.
- Rnd 4: (1 dc, 1 dc-inc, 1 dc) repeat around (40 dc). Sl st to join.
- Rnd 5 (BLO): Working in the BLO (Back Loop Only), work 10 sc groups or increase sequences evenly (refer to image chart details) across 10 sets of (3 sc, inc) (50 sc). Sl st to join.
- Rnd 6 (FLO): Working in the front loops left from previous texture structures, work 50 sc around (50 sc). Sl st to join.
- Rnd 7 (FLO): Working in the front loops, work (sc, ch 4) pattern sequence around to form the ruffled edge base.
- Note: Repeat the ruffled edge technique using the remaining open loops to create a double-layered textured border.
2. Roses & Leaves (1 Strand of Yarn, 2.0 mm Hook)
- Large Rose:
- Ch 17. Starting from the 2nd ch from the hook, work 8 sets of (tr, sl st) along the chain to form the spiral petals, then sl st to finish. Roll and secure with glue and wire.
- Small Rose:
- Ch 9. Starting from the 2nd ch from the hook, work 4 sets of (tr, sl st) along the chain, then sl st to finish. Roll and secure.
- Leaves:
- Ch 5, starting from the 2nd ch from the hook: work sl st, hdc, dc, and sl st down the chain.
3. Assembly
- Insert floral wire through the base of the roses and leaves, wrap with matching yarn.
- Thread the wires through the main coaster base, bend and secure the ends neatly on the wrong side, and weave in all yarn tails.